
Luminar
Luminar is a universal photo editing software application developed by Skylum (formerly Macphun) available for Windows and macOS.
Luminar works as a standalone application and as a plugin for Adobe and Apple products. It integrates with Adobe Photoshop, Adobe Photoshop Elements, Adobe Lightroom Classic, and Photos for macOS. In 2019, Luminar won a gold award at the Digital Camera Grand Prix for its innovation in the photo editing space. Luminar has also been recognized as the Best Photo Software Product in the 2019 and 2020 by EISA awards. The application has filters, which can be used to edit images. The effects can be combined using layers and masks. Luminar works directly with raw files.
Luminar software is designed to edit photographs, convert RAW files, and manage image folders. You can use it either as a separate program or as a plugin for Lightroom and Photoshop.
This photo editor has a simple interface and tools placed in various modules that make it easy, even for beginners. It offers a fully customizable toolbar. People download Luminar because of its simplicity and its similarity to Lightroom and even Photoshop.
Skylum Luminar 4 has a simple UI and includes tools similar to Lightroom arranged in the same places. However, unlike this Adobe program, Luminar allows you to fully customize the menu layout. In other words, you can freely choose where each tool will be located.
This AI photo editor offers a complete set of tools for deep color correction and basic retouching using convenient modules. You get AI sliders and an excellent level of control, but the operating speed leaves much to be desired. It is significantly slower than its older counterparts Lightroom and Photoshop.
Extensive Batch Photo Edit Features
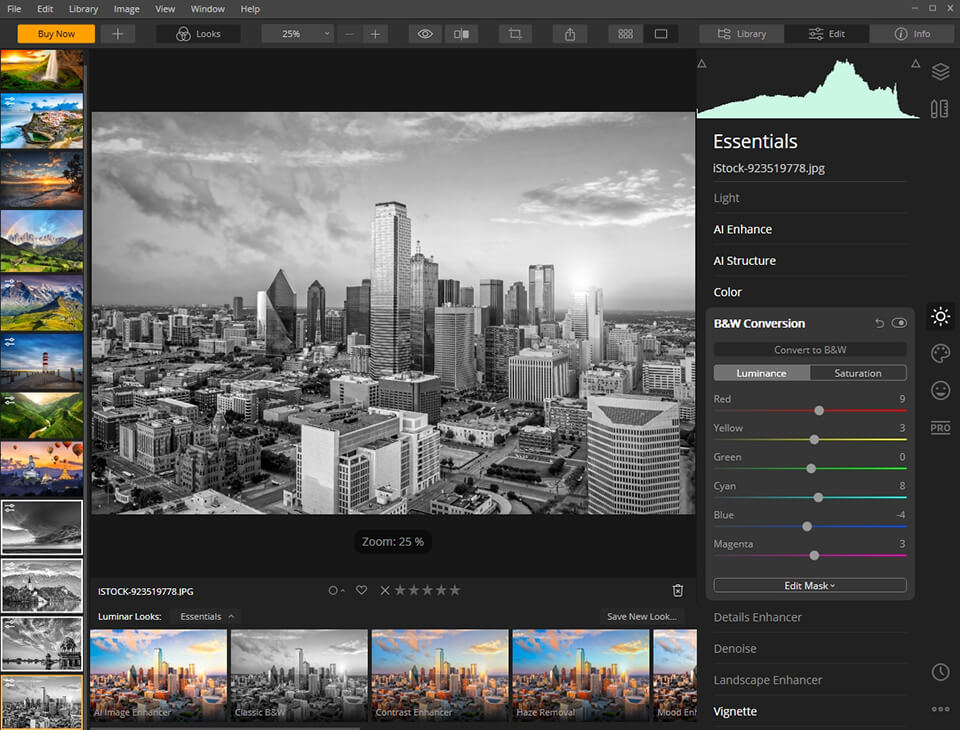
Luminar allows you to edit images either one by one or in batches. When using batch editing, you can apply various presets and filters to multiple photographs simultaneously, adjust their settings, etc.
The collection of tools offered should satisfy a regular user who’s looking for universal control options, although they are quite limited in some cases. For instance, noise settings are limited only to brightness and color sliders, while chromatic aberration can only be removed by using a single flag instead of combining various color sliders to achieve different shades.
AI Portrait Editing
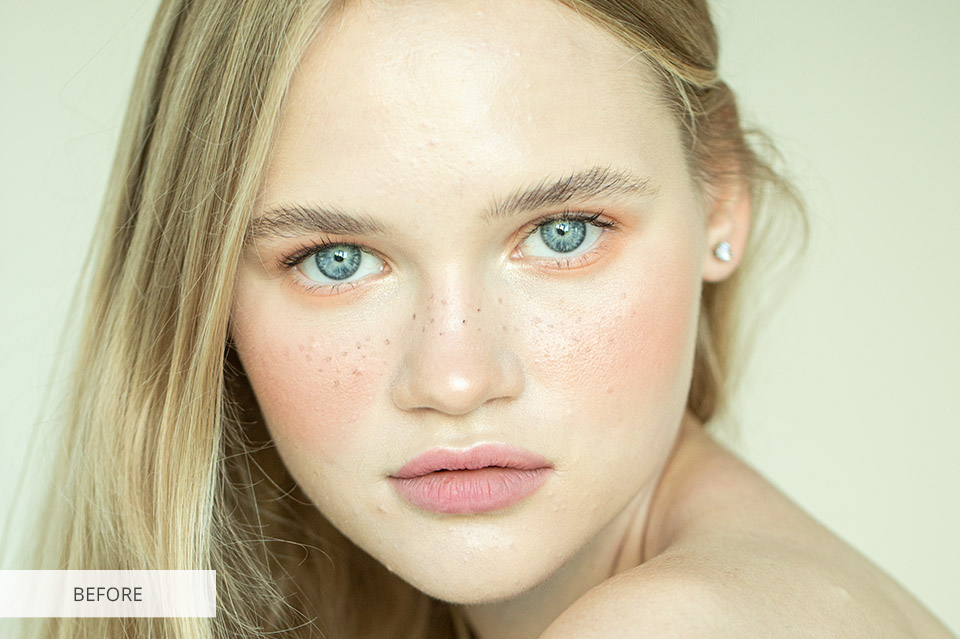

AI Portrait Editing is amazing. You can use several tools that give you full control over the photo editing process, while all changes are made automatically using the sliders.
Luminar opens up extensive opportunities for portrait editing such as eliminating the red-eye effect, whitening eyes, enhancing the face, adjusting the details of the lips, etc. You can adjust the sliders to get the perfect look in your portraits.
In addition, Luminar 4 features AI Skin Enhancer, which uses AI technology. It allows you to find all the skin areas in a photo (face, hands, legs, etc.)
Accent AI Filter
This tool relies on artificial intelligence technology and allows you to improve your photo impressively by using a single slider.
I’ve done some experimenting with it, and once I set the boost slider to the max, I’ve noticed a dramatic improvement of my image. It added clarity and smoothness to the hair, as well as some shadows to the eyes.
Extensive Color Grading Capabilities
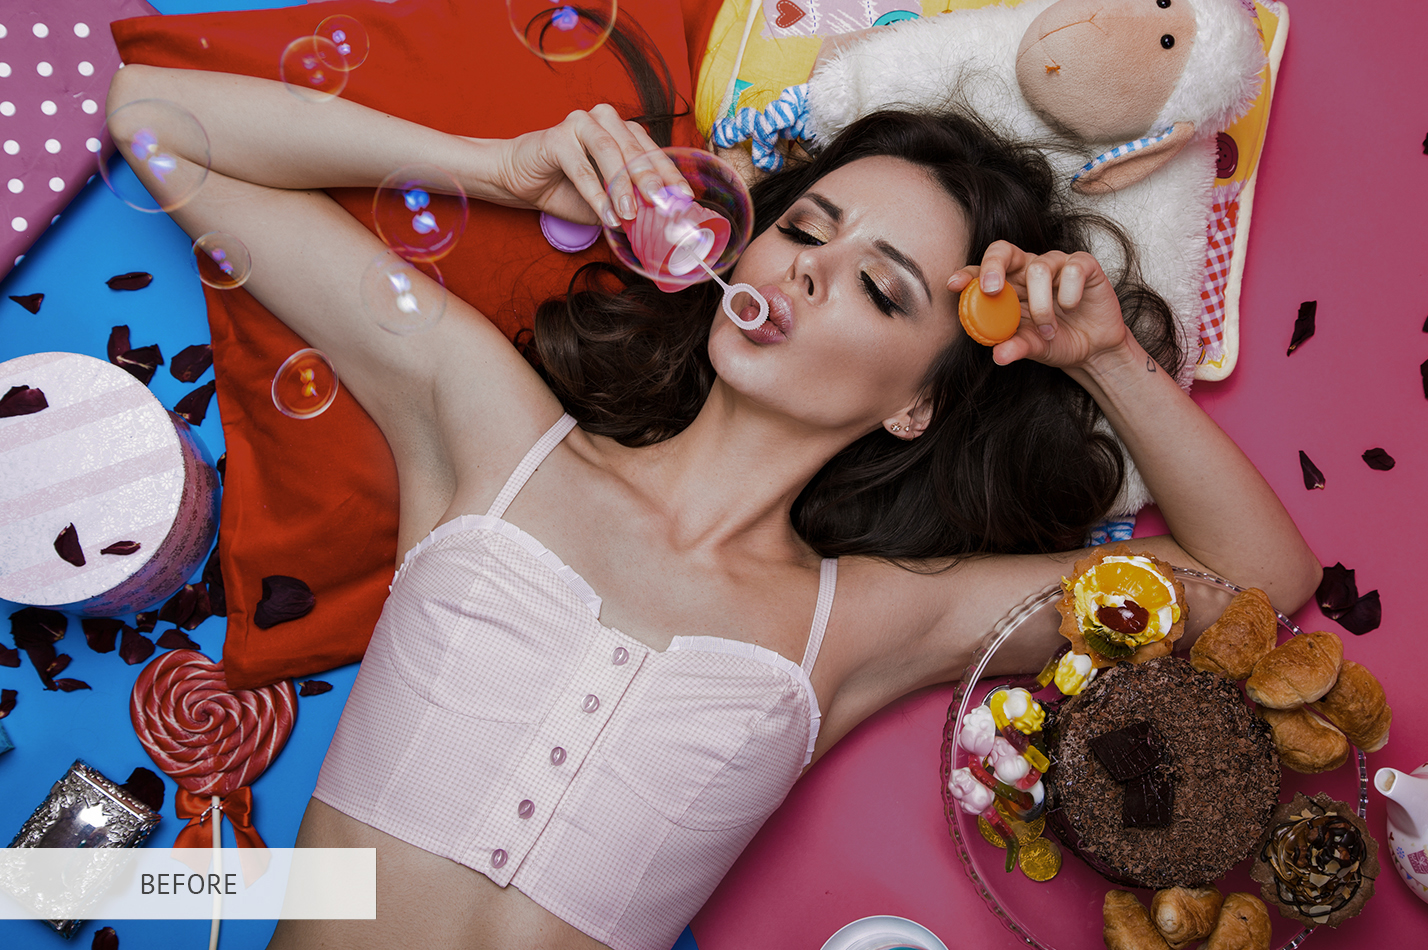

- Develop. This tool comprises all the basic color correcting settings: white balance, temperature, tint, exposure, contrast, shadows, blacks, etc. To apply any changes, you need to pick a brush, select the work area you want to adjust, and then edit the image by moving various sliders.
- Denoise. This tool allows you to set the luminosity and color, and choose a brush or specific masks. It also has a boost slider that allows for intensifying this correction. Removing color hues may be as easy as setting white balance and tone, but sometimes it can be quite complicated (unless you’re a professional). This filter does a great job of neutralizing any color that you have trouble getting rid of.
- Saturation/Vibrance. This tool allows for adjusting two sliders as well as using masks/layers. I wasn’t particularly impressed by it because you need to move the slider all the way to the edge if you want a noticeable result.
- Advanced Contrast. A rather useful tool if you need a broader range of contrast settings. You can adjust the Highlights, Midtones, and Shadows, with each section having “amount” and “balance” sliders. You don’t have to make drastic adjustments here. Changing the value by 20 will already provide a noticeable result.
Auto Dodge & Burn Tool
I liked that you may use the Dodge & Burn tool that is available in Luminar for PC, even though it’s often neglected by photo editors who mainly do color correction.
It has a single “Amount” slider that allows for making the photo clearer. Sadly, this slider isn’t well designed compared to in Photoshop, forcing you to set maximum values to see any kind of effect.
Unique Auto Settings

Luminar contains particular tools that you will not find in any other similar program.
- Smart Tone filter allows you to easily adjust the exposure without shifting the colors and brightness in the image.
- Sun Rays filter adds a volumetric lighting effect and creates natural rays of light in the image. Intelligent masking allows light to pass through the branches of trees and even overlay rays on people or objects.
- Orton Effect. This filter was invented by Michael Orton and was named after this photographer. It allows you to give the image a special glow, making it sharp but with the soft effect still visible.
- Golden Hour creates an effect of warm and soft sunlight as if your photo was taken during Golden Hour when the sun is low in the sky (after dawn and before sunset).
“Before/After” Mode
My Luminar review wouldn’t be complete if I didn’t mention one of its most interesting tools. It’s located in the middle of the top bar and creates a real-time slider that allows you to see your changes in “before/after” mode. Moreover, it isn’t limited only to filters, you can also use the tool to adjust white balance, which is a feature missing in Lightroom.
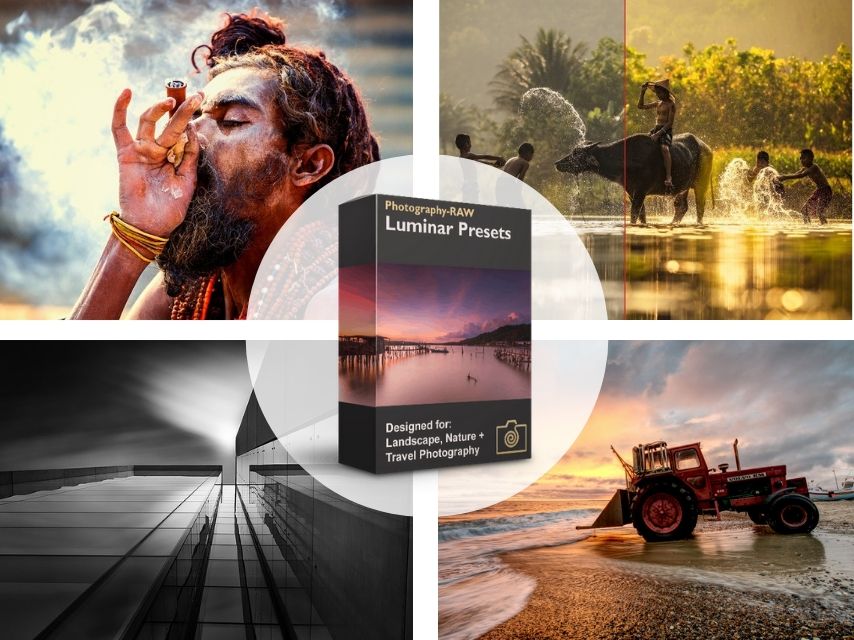
Creating and Installing Presets (Looks)

Luminar is supplied with presets (looks). Each workspace is built from various filters that you can use to perform an array of image corrections, from shadows to curves adjustments.
In Luminar have is the ability to save your settings, which allows you to edit images faster in the future. At the bottom of the module, you can find a Save Filters Presets button. This is a very handy feature if you’re a wedding photographer who constantly has to edit hundreds of images.
The photo editor you always dreamed of
Explore
1 license
Luminar Neo
Learn more
-
License for 1 computer
-
5% Marketplace discount
-
Access to performance and stability updates, plus any other free platform updates
- Access to all major platform upgrades
₹799/mo
Billed monthly (Total ₹9588 /year )
Best Deal
Pro
2 licenses
Luminar Neo
Learn more

All extensions
Learn more
-
2 licenses for 2 computers
-
10% Marketplace discount
-
Access to performance and stability updates, plus any other free platform updates
- Access to all major platform upgrades
- Immediate access to all Extensions, including those released throughout your subscription period
₹749/mo
₹1189
Billed ₹8999 annually SAVE₹5269
Lifetime
1 license
Luminar Neo
Learn more
- Add pro-level tools:

2022 Extensions pack
Learn more
₹23999
₹27999
-
License for 1 computer
-
Access to performance and stability updates, plus any other free platform updates
- 2022 Extensions pack available for purchase
₹11999


